Sunday, October 14, 2012

Vacation Crafting, Part 4: Crochet

This is the last installment in the Vacation Crafting series...  I hope you've enjoyed it as much as I've enjoyed writing it! 

---

So, crochet and I have an interesting history.

Look at them, all lined up and pretty:
my crochet hooks.

I first learned to make crochet chains in middle school, when I got the chicken pox.  In fact, my sister and I both learned at the same time, because we both got the chicken pox at the same time.

We made many, many crochet chains.  I am not even sure how many skeins of yarn we went through.

Ultimately, those chains became garlands for our Christmas tree.  The poor thing looked like a sweater.

Unfortunately, that was the extent of my crochet knowledge; making chains was the only thing that I could do.  And that was how it was for the longest time--because any other attempt to learn crochet ended up in tears and frustration.  Seriously--there was one time I actually sent myself to my room because I was getting so out of sorts.

And that was how it remained…  until this past vacation.

The Captain's Chair...
In other words: my mum's porch chair with her crochet bag.

While on vacation, my mother taught me the next step: single crochet.

And I actually learned how to do it.

You see that?  It's my very own, very first
single crochet piece!!

…And it didn't stop there.  When I got home from vacation, I practiced more--just to make sure it wasn't a fluke.

I tried more regular, worsted yarn.


I tried thin crochet thread.

...You can't really tell, but that is a 1.25mm
crochet hook and some crochet thread.

Then I started experimenting.  I tried making necklaces.  (No pictures of those, sorry--the first attempt didn't go so well...  But, I will persevere!)

…And then I graduated to the ruffle scarf.*

Ruffle scarves are such fun to make!  Here is
the process picture...

...And here is the finished product,
in better lighting.

I even created my own pattern for a more full, more winter-worthy ruffle scarf.  It takes two skeins instead of one, and--as far as I know--is completely unique among ruffle scarves.

It's actually rather like a boa...  A boa of awesome!  :D

And so, that is where things stand.  Who knows where I will go next.  Indeed, I have already been playing around with more necklace ideas (ones that will actually work), and I have become fully addicted to making ruffle scarves.  I have even been contemplating the next step: double crochet.

What exciting times!

---

Thank you so much for joining me in this blog series...  I always enjoy crafting and learning--and getting a chance to write about it.

Friday, October 12, 2012

Vacation Crafting, Part 3: Decorating Cigar Boxes!

One of my favorite things to do, ever, is craft with my mother.

In fact, some of my most happy memories are doing just that. She was the one who taught me how to sew, how to knit, how to bake.

And, while she is good at all of those things, her favorite medium is paper.

What are these, precious?
Read on to find out!


She makes cards and journals and envelopes for the numerous letters that she writes.  Indeed, I remember sitting down with her and making those envelopes out of old calenders, spending hours just crafting and talking and spending time with each other.

Such lovely times.

Now, recently, her project of choice is converting cigar boxes into wonderful works of art.  Cool, right?

And, while I was on vacation, I got a chance to make boxes with her.  

*happy dance*

The first step was picking out the paper.  She brought two cigar boxes with her, and let me pick out a set of paper to go with each.  These sets of paper included enough to cover the front, sides, and bottom of both the outside and the inside.

Here you see: the front papers of each set,
the buttons that will match them,
and one of the boxes to be covered.

The second step was perhaps the most crucial to success: measuring the area on the box where the paper was going to go.

…The third and fourth and fifth steps were re-measuring.  Oh, and making sure that the design was centered the way that we wanted.

Mum trying to decide where she wants the flower to go on the inside cover.

Once we were sure about the measurements, we went ahead and cut the paper (to those measurements, of course).

The first time we tried to do this, it didn't work so well...
It was so humid that the paper didn't cut right!

Then we used a cool coloring technique to shade the edges of the paper...

By shading the edges, it gives the box a more complete and cohesive
look--not just disjointed papers.

...And then glued.

See--she's a pro!

The last step was attaching the buttons (for the pull), and the feet.
 
Those button make the box easier to open...

...And it's anchored on the inside, so it's extra strong!
Also--since the boxes are wood, we had to hammer a nail through it
(and then pull it out) to make the hole.  Fun times!

The lighting in the cabin, as you can tell, has a certain yellow glow...  So here are some pictures of the completed boxes that I took once I got from vacation.

Here's Box 1:

The top...

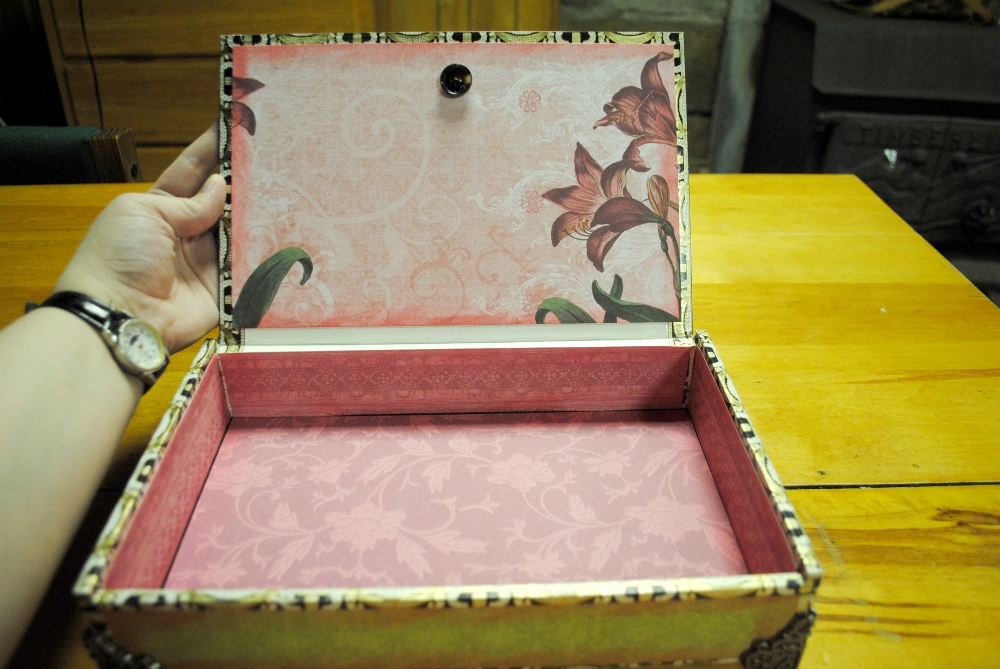
...the inside...

...and the sides.  It's the box on the bottom.

And Box 2:

The top...
 
...the inside...

...and the sides.

Such a wonderful time!  Not only did I get two lovely boxes (she's such a sweetheart--she let me keep both of them!), but I was able to spend some time crafting with one of my best friends.

What precious memories.

...And now it makes me want to see if I can find any orphaned cigar boxes.  :)

Wednesday, October 10, 2012

Vacation Crafting, Part 2: Knitting!

I realize that I have not talked about knitting much recently.

Rest assured, I have been knitting--particularly on my Blanket of Doom (tm).  Indeed, that was one of the crafts I worked on while on vacation.

This was my pile of yarn on the cabin mantle--
including 
a sample panel, the yarn for four different blanket panels,
and a skein of practice yarn.  

(What was I practicing?  That's for another entry.)

Another shot of the yarn--
the multi-color and blank will be one panel,
the dark blue and blue-multi will be another.

Piles of blanket panels--one finished,
one almost finished.


Now, I have mentioned briefly in the past that I've been working on a blanket panel with a striping pattern based on the Fibonacci series.  I made up the pattern myself--using two colors, which increase and decrease inversely.  The amounts of rows in each stripe is determined by the first eight numbers in the Fibonacci series: 1, 1, 2, 3, 5, 8, 13, 21.

Okay, I realize that might not make sense.  It's a bit convoluted to explain.  

So, here are some pictures:


The Fibonacci series in action!

Another view...  this time, obviously,
going in the other direction.
 
Knitting on the front porch.


I also worked on a pretty rainbow panel, a twin to the one I've already made.  In fact, once all is said and done, I'm considering naming this my Double Rainbow Blanket.  *smirk*

...How close am I to finishing the blanket?

I honestly have no clue. 

I finally have an idea of how I want it to look, but the current dimensions of it are huge.  Each panel is roughly nine feet long--and I want it to be roughly square-ish.  Nine feet!  Maybe I'll make it that big and fold it in half, making a double-sided blanket.  Maybe I'll make it that big and leave it that way.  Or maybe instead of a blanket, I'll make a knitted tarp.  (Or maybe not.)  

Oh, the possibilities!

However it turns out, I'm sure it will be beautiful.  It might just take forever to complete.

...I never do anything small, do I?

Monday, October 8, 2012

Vacation Crafting, Part 1: Buttons!


This is Part 1 in my Vacation Crafting series!  Keep checking back this week--because there will be more!  :D

---

Usually when I go on vacation, there is one craft that really captivates my attention.

There is something about this place that
really gets the creative juices flowing!

Sometimes it's making jewelry for my mother.  Sometimes it's sewing patches onto old jean skirts.  Sometimes it's making numerous things using Sculpey--from nature scenes to fictional currency (usually from one of my stories).

…And then there was this year. 

This year, I experienced a craft explosion.  So much so, in fact, that I'm dedicating this entire week's worth of blog entries to describing all the different things I did.  

And, first up, we have:


Buttons!

They look so innocent, don't they?
...They don't see the wire looming in the background.  ;)

It all started when my mother commissioned me to make her a pair of brown button earrings to match a button necklace that she owns.  

Now, the weeks before vacation were nuts (due to my husband's broken leg and potential surgery and not even knowing if we were going on vacation at all)...  During that time, all I was able to do was buy some different buttons for her to choose from.

Some of the buttons--
shades of brown and tan and cream.

Once we were finally on vacation, however, things settled down...  And within two days of being there, I had made her two sets of brown button earrings that she was thrilled with.  (Of course, I didn't take pictures of said earrings--ah well!  Just imagine that they are dangly and button-y and happy.)

But I didn't stop there.

You see, it just so happened that she had brought an entire bag of different brightly-colored buttons with her.  

Brightly-colored buttons that she put at my disposal.  

This bag was much, much fuller when I first tackled it--
I wonder if my mum realized what a monster she was
about to unleash.  Heh.

...From that bag of brightly-colored buttons, I wire-wrapped many many pendants and just as many matching earrings.

Here they are--all in a bundle!

Some of the sets--the big ones in the middle are
the pendants, and the smaller ones are
matching earrings (sans earwires).

More of them--once more, the bigger ones are
pendants, flanked by matching earrings.

All of them together!  Seven sets, total.  Well, at least, in this style.
There were a few others that I planned out that were a bit more involved. 

So.  

Much.

Fun!

They are all bright and happy, and make me smile.

...And, once again, I didn't stop there.  The next time that we went to the store, I actually picked up a collection of black and white buttons--as well as some matching beads.  I had a plan to make a necklace with them.

Here is the beginning of the pattern that I choose for them,
using the chain as a guide for how long I wanted it to be.

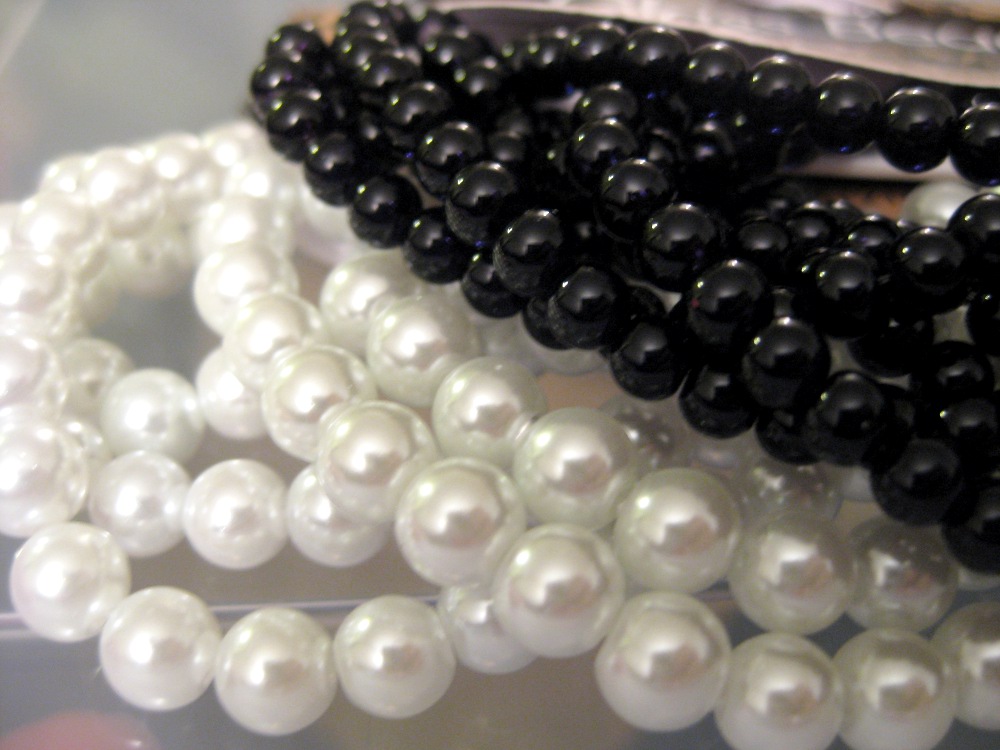
The aforementioned matching beads:
white glass 8mm pearls, and black glass 6mm pearls.

Unfortunately, I have not finished this necklace.  Why?  Well, first of all, vacation ended before I was able to complete it. Second, I ran out of beading wire.

And so, the necklace is currently waiting patiently--both for me to have time to return to it, and for me to go get more wire.  I am excited, though, because it will be really cool once it's done!

Not only that, but I have more ideas regarding buttons, too...  I doubt you've seen the last of them!  Mwahaha!

Ahem.

...And that was my adventure into the world of wire-wrapping buttons.  It was simple and happy, and a great deal of fun--a perfect way to de-stress from all the things leading up to vacation.  

Saturday, October 6, 2012

Just Posted

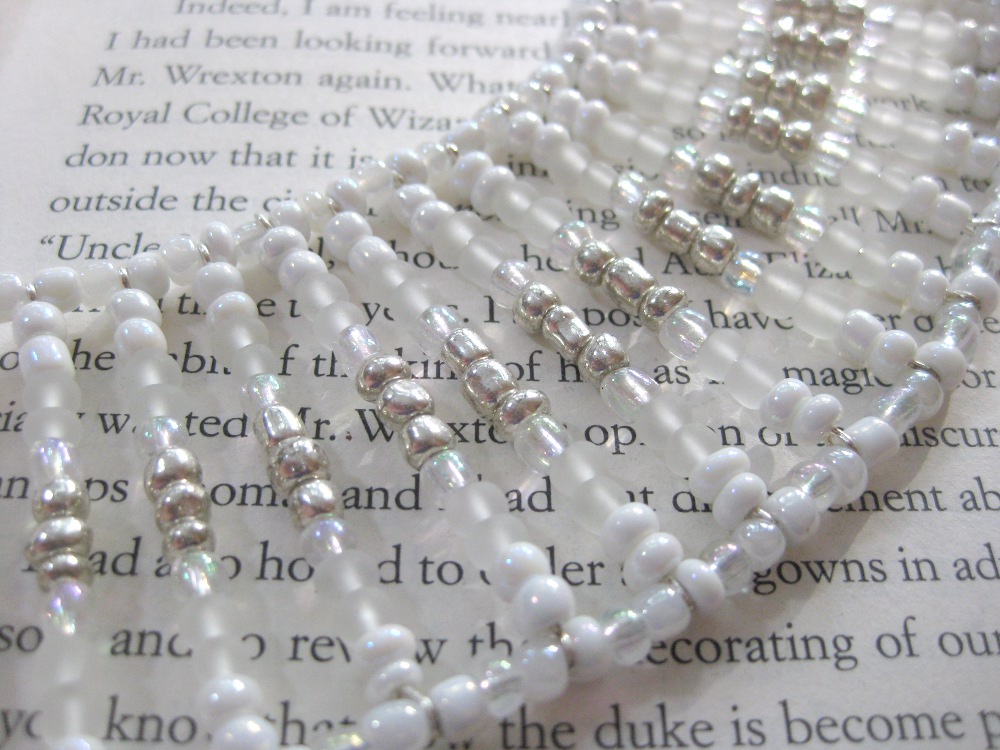
I am so, so pleased to announce that I have posted a collar necklace to my store!  Hurrah!

Introducing:

Always Winter


And now, for some close-ups:


The name was inspired by the White White from C.S. Lewis' Chronicles of Narnia...  To see the description (and the listing), go here: 

https://www.etsy.com/listing/111402075/always-winter-necklace

I have been working on perfecting these collar necklaces for several months now...  I cannot tell you how happy it makes me to finally be able to list one!

---

As time permits, I'm starting to work on more of these...  They are so beautiful, but definitely time-consuming!

Just curious: what colors would you like to see me use for the next one?

Friday, October 5, 2012

Thursday's Table... Really, This Time...

So, what is currently on my crafting table?

This is what's currently on my crafting table:


From top to bottom:
A bracelet
A headband
And
Two different pewter filigrees

And I can just imagine you asking: 

What do those things have to do with a trip to the Zoo?

To answer that question, let me show you the only souvenir I picked up while there:

It's a manatee penny!  Yipee!

My plan is to create something happy and jewelry-like with that little smashed penny.

I got the idea  from an awesome blog that I follow, called Epbot.  The writer, also named Jen, has made a lot of jewelry using smashed pennies, as you can see herehere, and even here.  I have been wanting to follow her lead for awhile now--and now I finally have a penny, to do exactly that!

...The only problem is, I can't decide what I want to do with it.
I can use this to make a pendant, probably on a choker,
and with some chain and beads dangling down.

This could also be a choker pendant, again with the chain and
the beads and the prettiness.

Oh, look, it's a bracelet!

...And then there's always wearing it in my hair...

This is where I get fancy--using the filigree on the headband.

Same idea as the last picture, only using the smaller filigree.

So, that's what's on my table: a really awesome smashed penny that I want to use to create something pretty.

I just have to decide which design I like best.

Or maybe just obtain more smashed pennies, so that I can do them all.  :D


...Just out of curiousity, is there a basic design that you like best?  Of course, I'll probably embellish the idea that I decide on--and I'll try to remember to post pictures here, when I'm done!  :)